Compare monitor light bars by mount fit, beam direction, controls, USB power, and webcam clearance to find one that suits your desk.
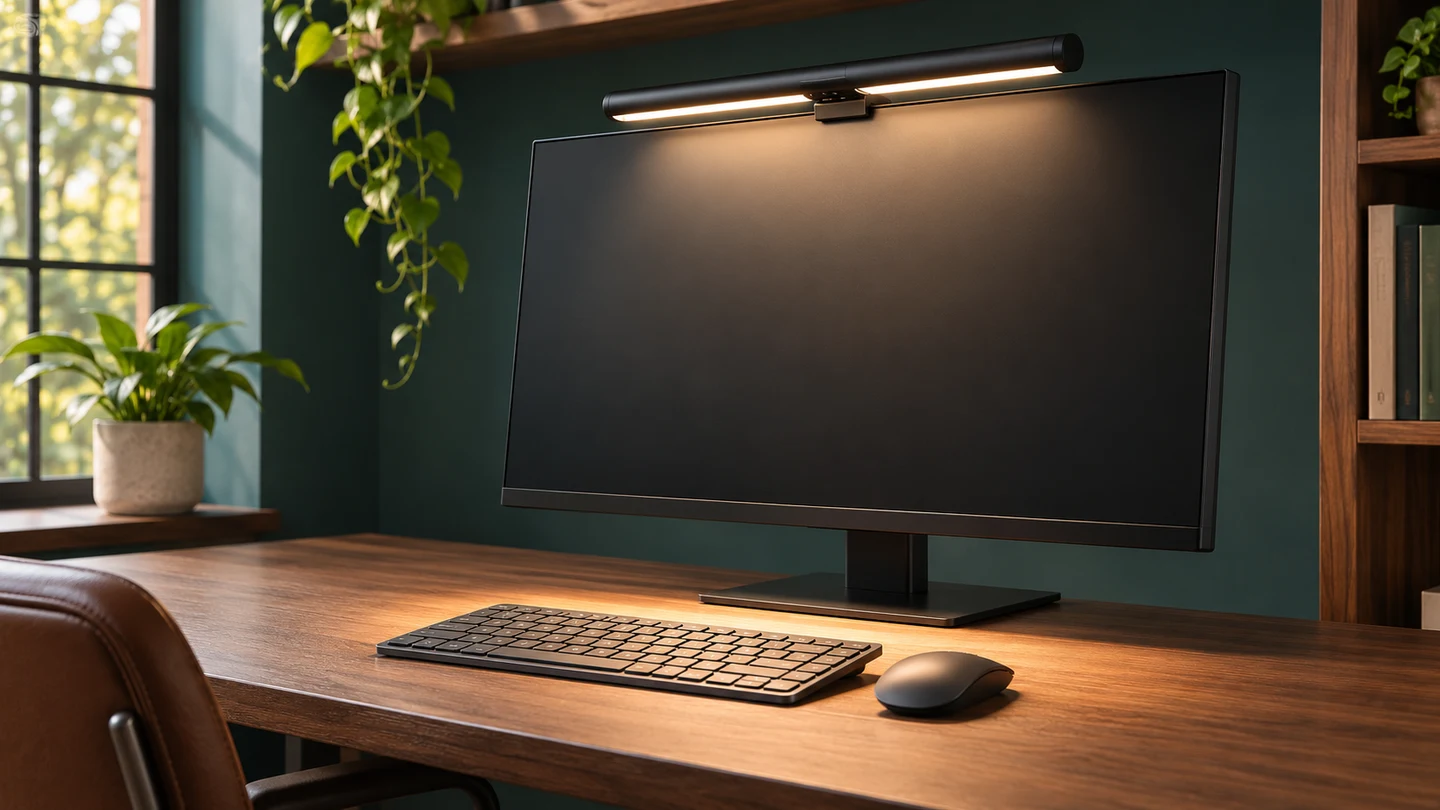
Quick AnswerChoose a monitor light bar that fits the shape and depth of your monitor and shines down onto the keyboard without reflecting in the display. For one monitor and a small desk, a front-facing bar with adjustable brightness and color temperature is usually enough. Consider a model with rear lighting if you also want to soften the contrast between a bright screen and a dark wall.
Compare Monitor Light Bar Types
| Type | Best for | What to check |
|---|
| Front light with on-bar controls | A single monitor and a compact desk | Mount dimensions and whether the buttons are easy to reach |
| Front light with separate controller | A deep desk or a monitor mounted high | How the controller connects, where it sits, and how it is powered |
| Front light with rear lighting | Evening work with a wall behind the monitor | Independent dimming and how much space there is behind the monitor |
1. Check the Mount Before Buying
Measure the depth of the monitor housing at the top center, where the clip or counterweight will sit. Check the maker’s fit range and look for any vents, ledges, or controls the mount could cover. For a curved monitor, use the manufacturer’s curvature guidance as well as the depth measurement.
2. Look for a Beam You Can Aim at the Desk
The light should land on your keyboard or notes. A downward, asymmetric beam helps keep direct light off the display. Also check whether the bar can tilt far enough to avoid reflections on your screen, especially if it has a glossy finish.
3. Match the Controls to Your Setup
On-bar buttons are convenient when the monitor is within reach. A separate controller makes sense if the display is high or sits at the back of a deep desk. Look for adjustable brightness and color temperature if you use the same workspace in daylight and in the evening.
4. Check USB Power and Webcam Clearance
Read the required voltage and current before choosing a monitor USB port, hub, or wall adapter. Some monitor ports switch off with the display. If your webcam already sits at the top center, check whether the bar includes a compatible camera mount or whether you’ll need to move the webcam.
Buying tipOpen a dark window on your monitor after installation. Look at it from your normal seat and tilt the bar until the keyboard is evenly lit and you can no longer see a reflection of the light in the display.
What to Buy for Your Setup
| Setup | Look for |
|---|
| Small desk with one flat monitor | A slim front-only bar with simple dimming |
| Curved or thick monitor | A mount rated for the housing depth and screen curvature |
| Monitor on a tall arm | A separate controller and a cable that reaches your power source |
| Monitor with a centered webcam | A camera mount or space for a separate webcam stand |
| Night work against a wall | Independently adjustable rear lighting |
Common Mistakes
- Buying by monitor size alone and overlooking housing depth.
- Using a USB port that supplies less power than the bar requires.
- Mounting the bar where it blocks a webcam or vent.
- Aiming the beam at the screen and creating reflections.
Before You Buy
- Measure the monitor housing at the mount point.
- Confirm curvature, webcam clearance, and beam adjustment.
- Choose controls you can reach from your seat.
- Check USB power requirements and cable reach.
- Decide whether rear lighting would help in your room.
Bottom Line
Start with mount fit and a beam you can aim at your desk without glare. Add a separate controller for a hard-to-reach display or rear lighting for an evening setup with a wall behind the monitor.


Comments
Comments are reviewed before they become public.
Sign in with Google to leave a comment.
Sign in with GoogleNo approved comments yet. Be the first to start the discussion.