Compare keyboard, Bluetooth, and desktop label makers. Find the right tape width, power options, and refill costs for your home or office.
A label maker earns its spot in a drawer when you can type, print, and stick a label in less time than it takes to find a marker. Start with the things you label most often. A short cable tag, a file-tab label, and a two-line pantry label each call for a different amount of space.
Quick AnswerChoose a standalone keyboard model for quick household labels. Pick a phone-connected model if you want reusable designs and a larger preview. For wider labels and repeated batches, compare desktop models and check the cost of the tape you’ll use most.
Compare Label Maker Types
| Type | Best for | What to check |
|---|
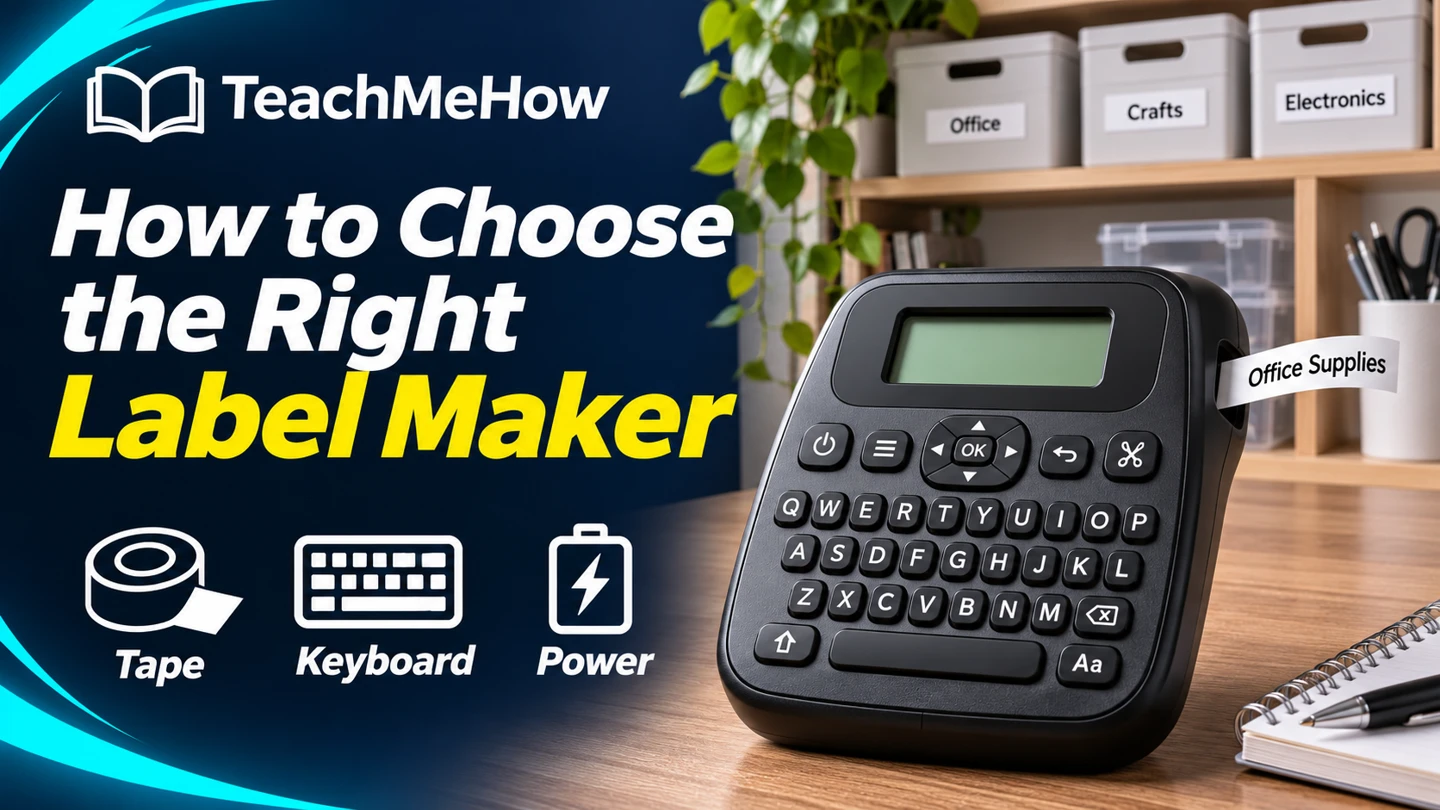
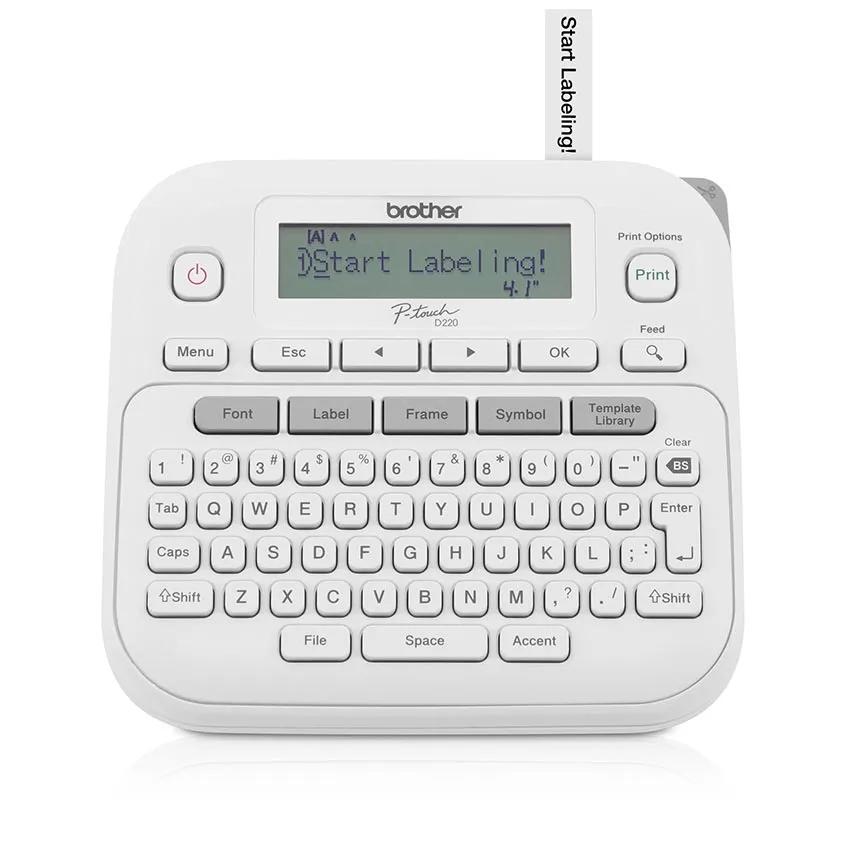
| Standalone keyboard | Quick labels at shelves and drawers | Key layout, preview screen, and tape width |
| Bluetooth model | Templates and repeated designs | Phone compatibility and whether the app needs an account |
| Desktop or USB model | Batch printing and wider labels | Supported operating systems and cutter options |
1. Measure the Space on the Item
Use a ruler on the narrowest tab, bin lip, or drawer front you plan to label. Check the printer’s usable print height as well as the tape width. Margins leave less room for text than the width printed on the tape package suggests.
2. Pick a Typing Workflow
A physical keyboard is convenient if you want to take the printer to a closet and print one label at a time. A phone app makes it easier to preview a longer label or reuse a saved layout. For printing a shelf’s worth of labels at once, look for a workflow that lets you edit and repeat them without retyping.
Buying tipCheck the price and availability of two compatible refill cartridges before comparing printer prices. If the printer supports different materials, look up the specific tape you’ll buy, including its width and length.
3. Match the Tape to the Surface
Check the tape maker’s guidance for your exact surface and conditions. For cables, look for compatible wrap or flag labels. For bins exposed to moisture, check whether the tape is rated for that use. Try a sample on a small area before labeling a full set of containers.
4. Check Power, Cutting, and Margins
Confirm what’s in the box. Some units need separately purchased batteries or an adapter. If you print mostly short labels, check the margin settings and whether you can print several labels in a row before cutting. Extra blank tape matters more when each label is only a word or two.
Which Label Maker Fits Your Setup?
| Your project | Start with |
|---|
| Files and small drawers | A keyboard model with narrow tape options |
| Matching pantry labels | An app model with reusable templates |
| Shelves and inventory bins | A desktop model with wider tape and repeat printing |
| Cables and chargers | A model with compatible wrap or flag supplies |
Common Mistakes
- Buying refills by tape width alone and overlooking the cartridge family.
- Assuming a starter roll is full length.
- Choosing a phone-connected printer without checking app compatibility.
- Printing a whole batch before testing how the label fits and sticks.
Before You Buy
- Measure two or three items you label frequently.
- Choose where you want to type and preview each label.
- Check the tape family, refill lengths, and specialty media.
- Confirm what’s included and how you’ll power the printer.
Bottom Line
Buy for the labels you’ll make every week. A standalone keyboard model is a practical starting point for short labels. Move to an app or desktop model when saved templates, wider tape, or batch printing saves enough time to matter.

Comments
Comments are reviewed before they become public.
Sign in with Google to leave a comment.
Sign in with GoogleNo approved comments yet. Be the first to start the discussion.